14. Attaching the chain

Single speed chain
Attach the chain: As a general rule, the chain, the rear freewheel and the chainring should be new or should have worn out together. If the three components are worn to different extents, there is a higher chance of chain slipping, and the chain damaging the cogs in the chainring and freewheel and so on.

Freewheel

Measure the chain
- Position the rear wheel closer to the end of the horizontal rear dropout this will allow you to make fine adjustments to the tension of the chain by pulling the wheel back into the dropout once the chain has been snapped on
- Thread the chain from the top of the chainring to the top of the rear freewheel and allow equal amounts of surplus chain to hang from both sides
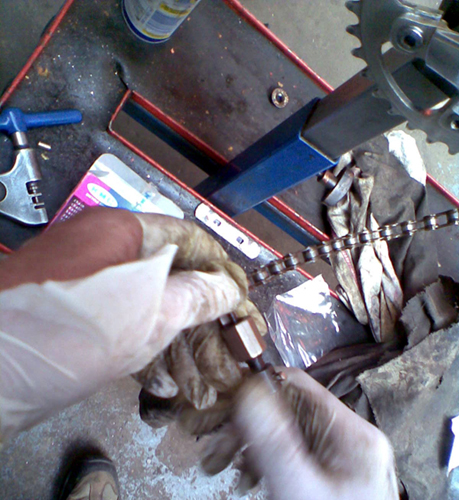
- Bring the loose ends together as tightly as possible and with a chalk, mark the link which is closest to the snap-on link
- Place the chain in the chain splitter tool and remove the excess links Remember that one link is made up of three rollers with a pair of inner and outer plates
- Thread the chain again and snap on do not throw away the excess links as you might want to replace your existing chainring with a different sized one
Cutting the chain