10. Installing the crank, chainring and pedals
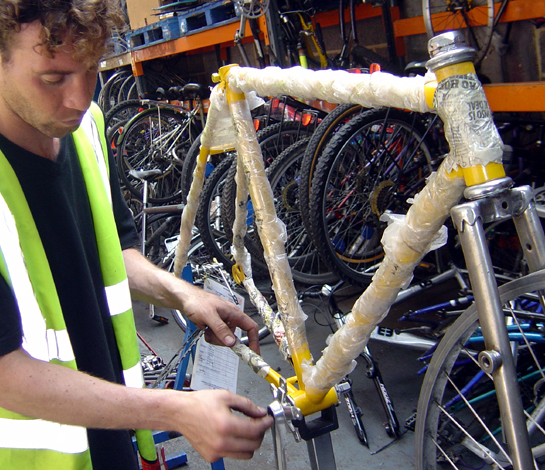
Crank arm
Instal the crank, chainring and pedals: The crank (sometimes referred to as the crank arm) is the part which connects the pedals to the bottom bracket axle. The right side of the crank will also house the chainring(s) which drive the back wheel using the chain (and rarely the belt and even more rarely, the shaft).
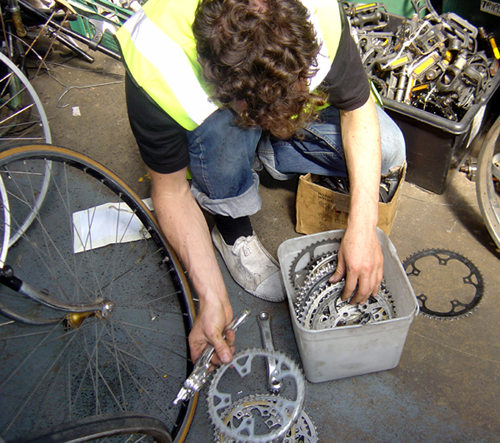
Chain rings
Note: Usually, the chainring(s) is fitted to the crank before attaching the crank to the axle. However, in our case, we were not sure if we were going to fit a chainring with a smaller or larger bolt circle diameter BCD. So we first fit the crank and then fit the chainring.
Fitting the cranks is fairly straightforward and is described below:
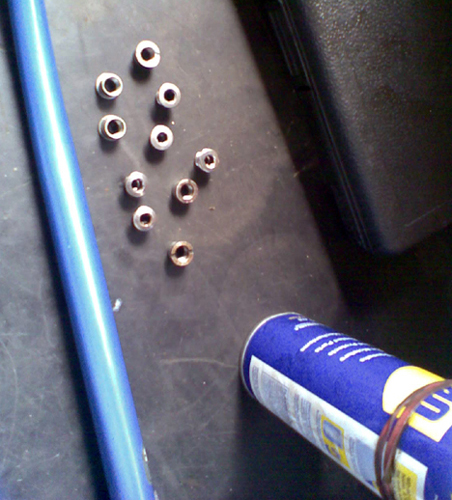
Chain ring bolts
- Clean the chain ring bolts (5 in total for us), axle ends and other visible parts of the bottom bracket
- Insert the right side crank and then tighten the bolt which secures the crank to the axle
- Repeat for the left side, while making sure that the cranks are diametrically opposite
- Give the cranks a good few spins and observe closely they should spin smoothly, without any wobbles, lateral motion etc
- Finally, cover the crank bolt with dust caps
- Fix the chainring to the crank and tighten evenly
- Grease the pedal and crank threads and gently screw the pedals into the cranks. Take care to attach the correct sides (right side and left side pedals)
- Note that the left pedal tightens anti-clockwise
- Remember to attach reflectors to the pedals if necessary
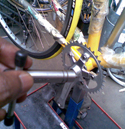
Tighten bolts

Ring and chain