5. Assemble the bottom bracket
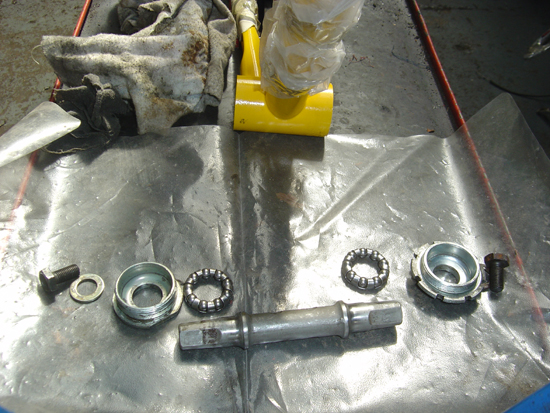
Lay parts out in order
Preparing the bottom bracket: This connects the crankset to the bicycle and allows the crankset to rotate via the pedals. Even if your frame comes attached with the bottom bracket, it is advisable to remove, clean, grease and refit.
This procedure is described below:
Our model, being pre 1990s, uses the cup and cone bracket, which can be dismantled for servicing. Remember though, that regularly doing this service also makes for a smoother, quieter ride.
- Arrange the parts of the bottom bracket in the order that they were in the bicycle. If you are removing an existing bottom bracket, then arrange the parts as shown in the image above
- Give the housing tube in the bicycle a thorough clean. Remove any swarf (metal pieces) and any other debris
- Clean the bearing cages with degreaser, and then wipe dry with a clean cloth. Repeat this for all the other parts the axle and cups etc
- Check carefully to see if the cups are pitted. If they are, consider replacing them
- You should now have a set of shiny, blemish-free metal parts ready for assembling
- Now lubricate the cups and housing tube with bearing grease (use sparingly) and insert the bearing cages into the cups
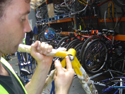
Grease the housing